
Beer Can Chicken
A good rubdown and a beer. This chicken’s afternoon is looking pretty solid.
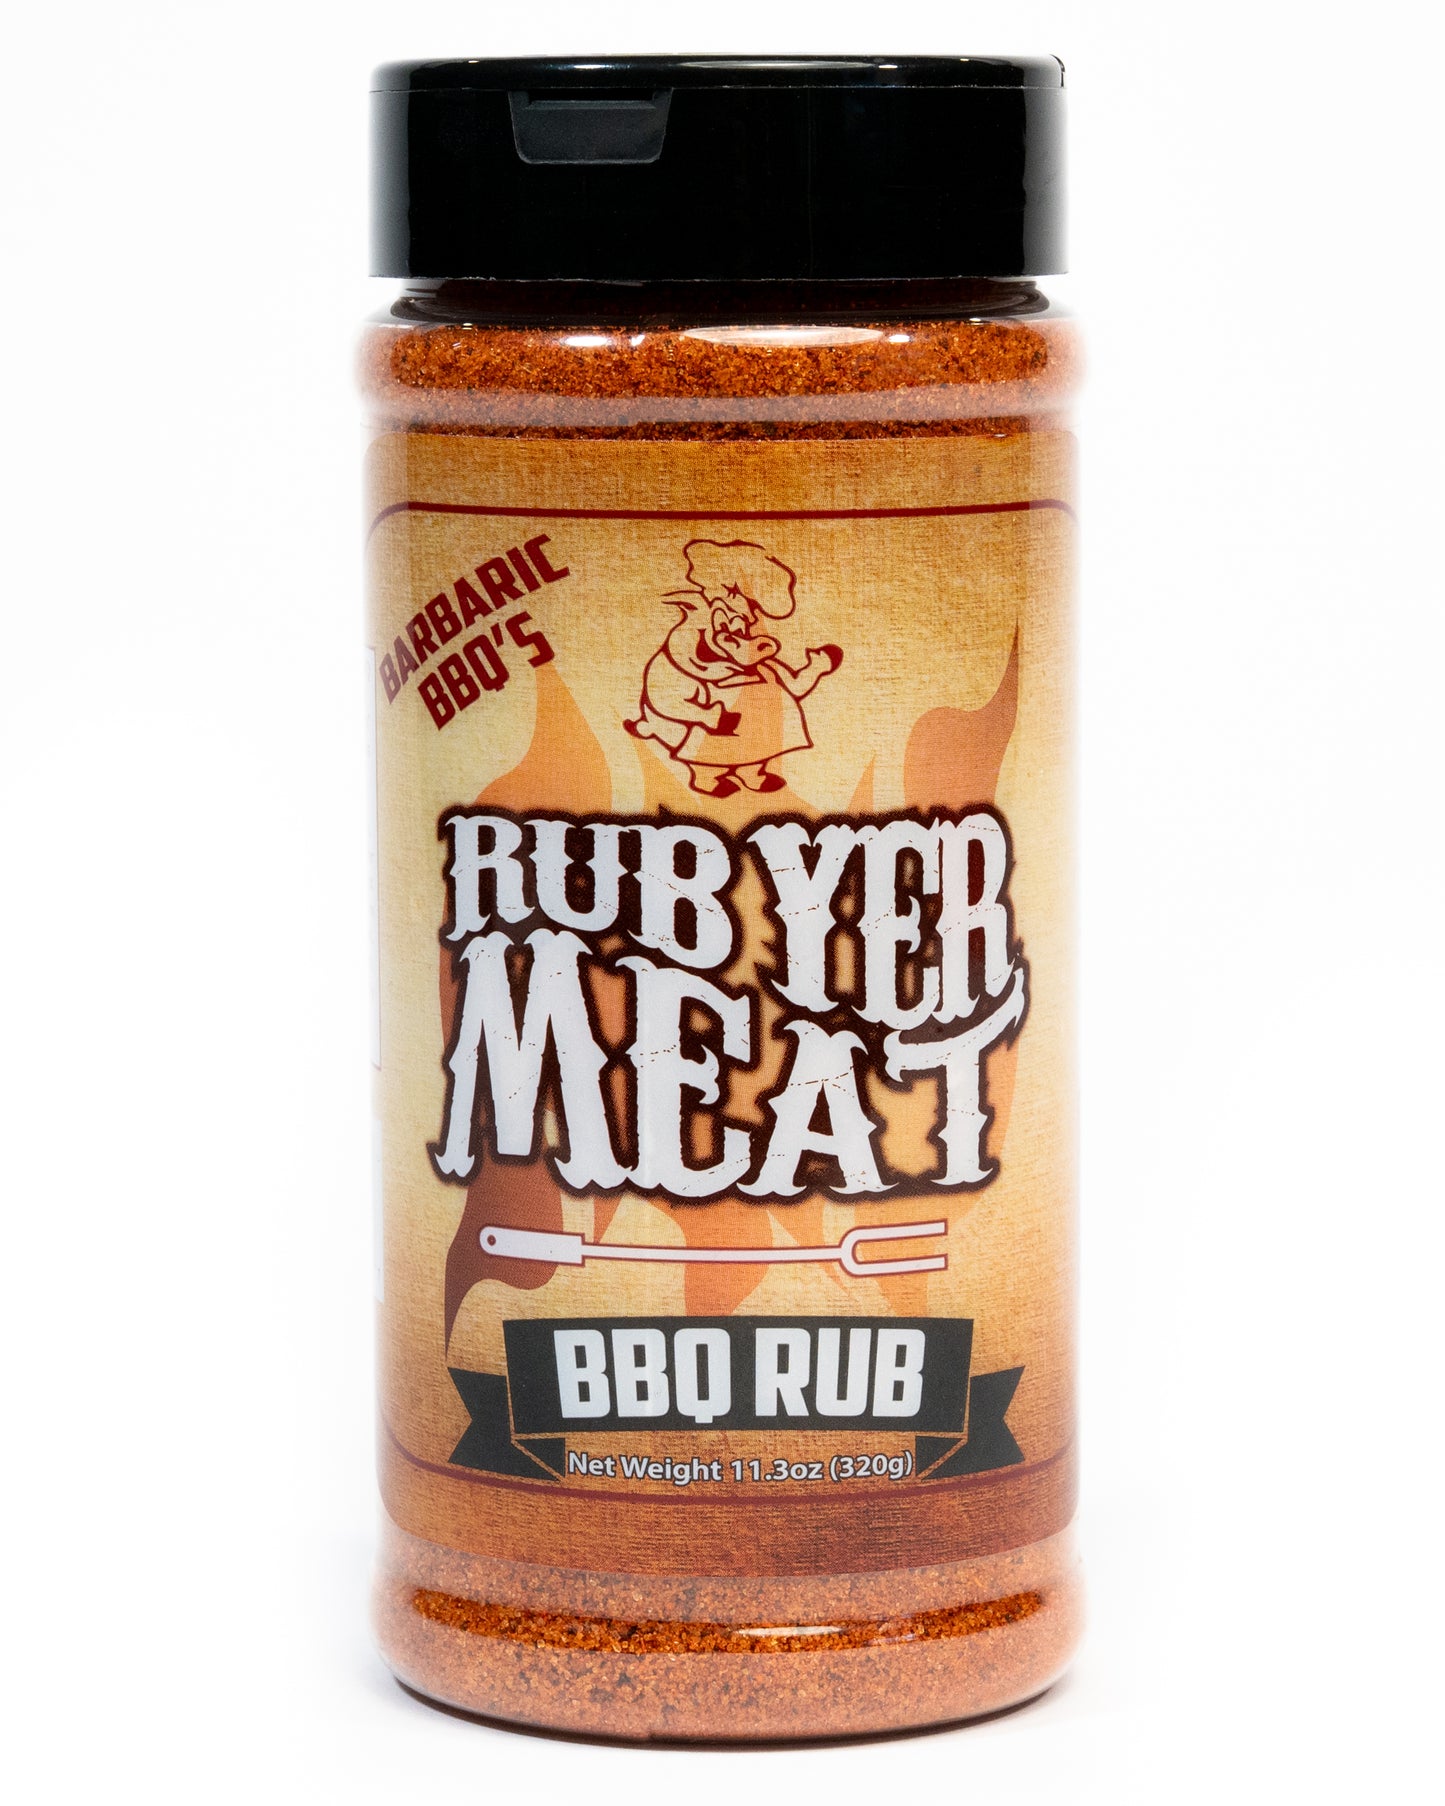
Beer can chicken keeps backyard cooking simple: a whole bird, a can of beer, and a generous coating of Rub Yer Meat BBQ Rub. Roast it upright on the grill, give it a short rest, and carve it up.
No overnight marinade. No complicated sauce. Just a well-seasoned chicken with a slightly questionable seating arrangement.
Keep It Simple. Season It Well.
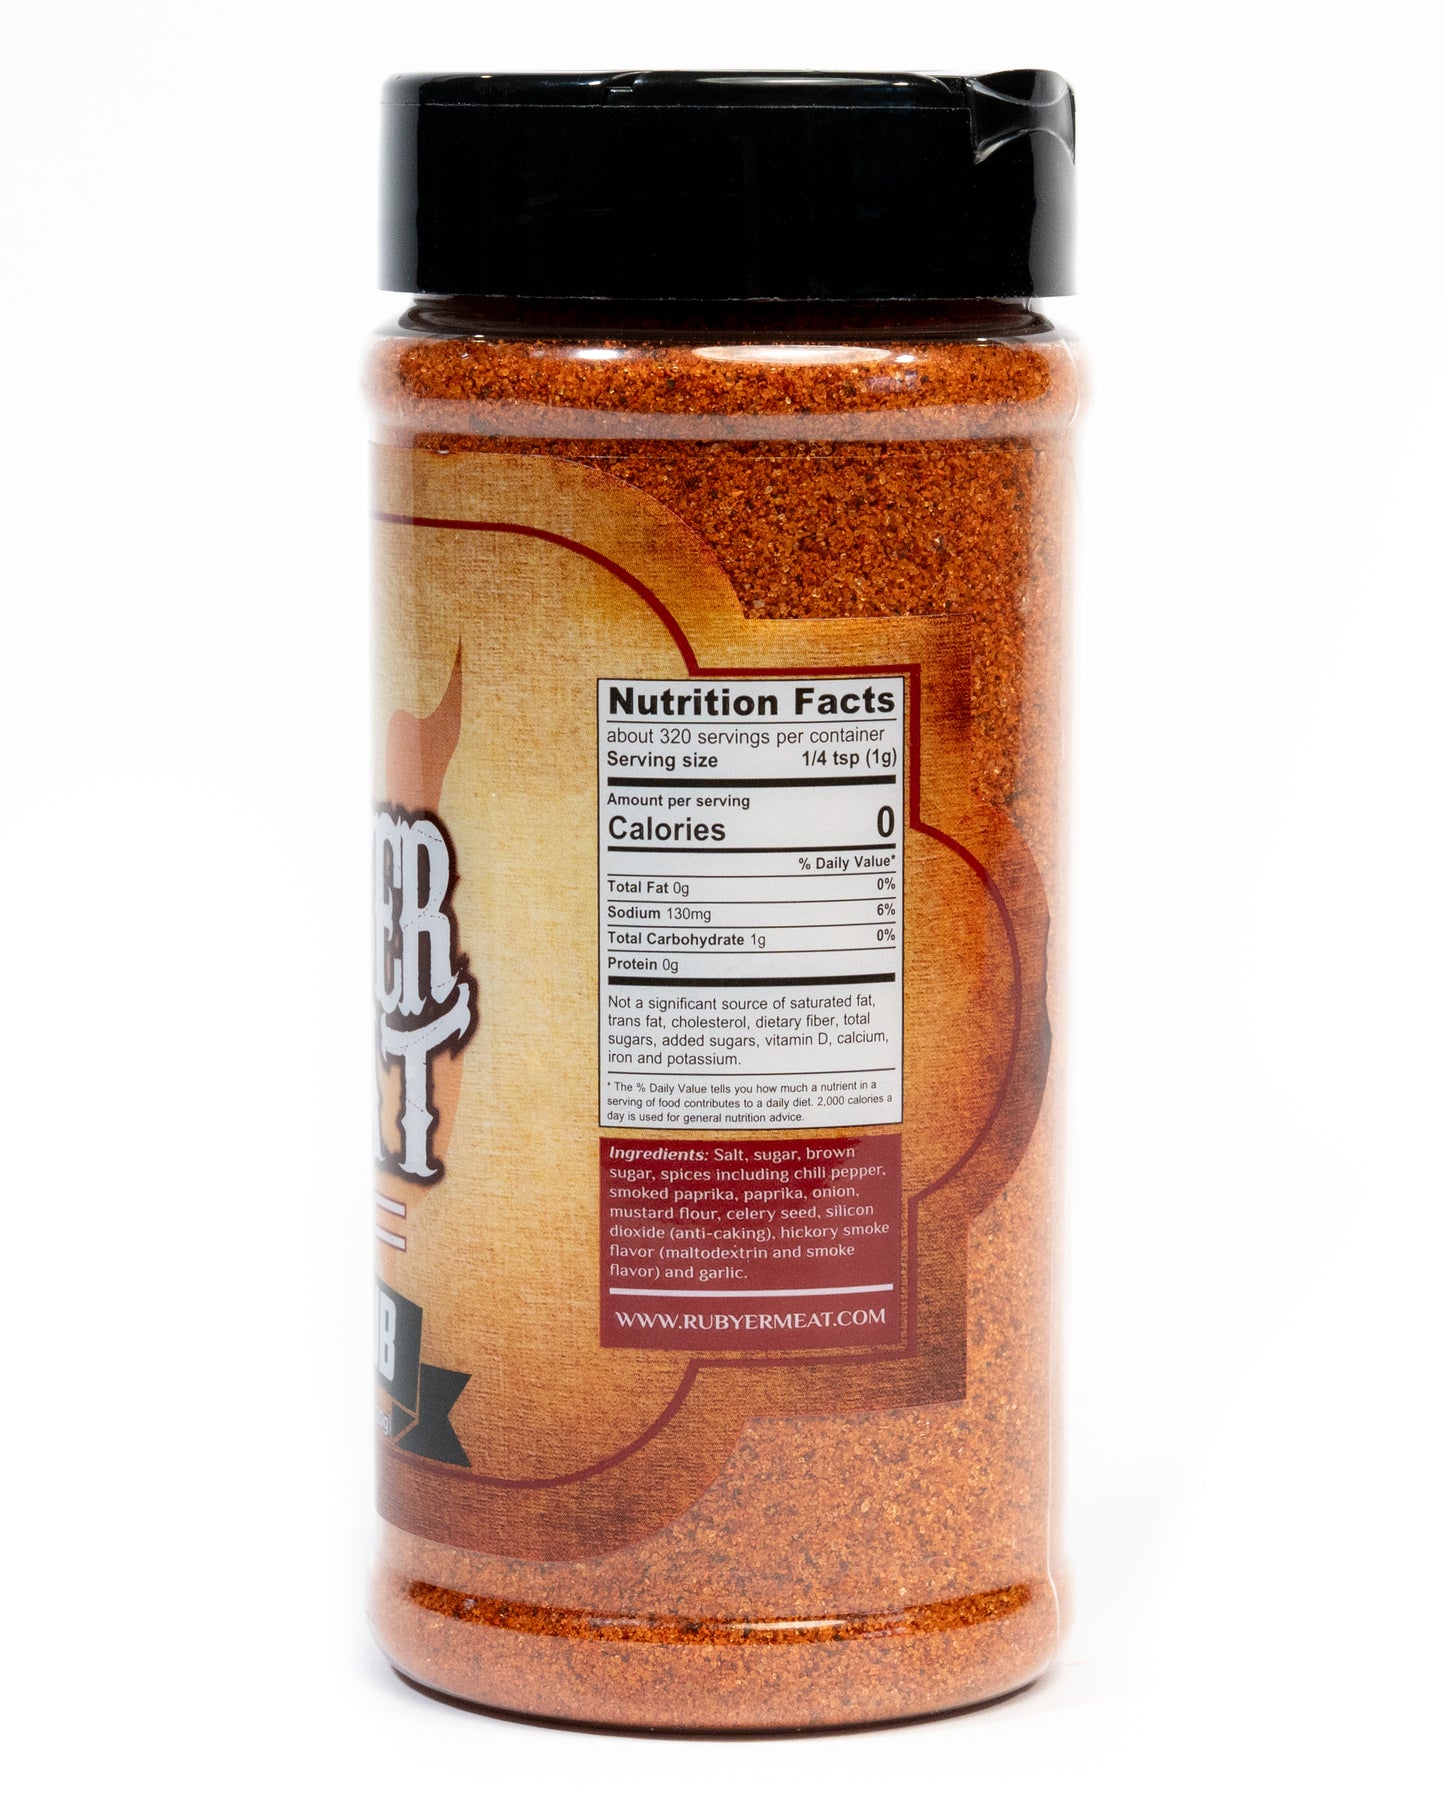
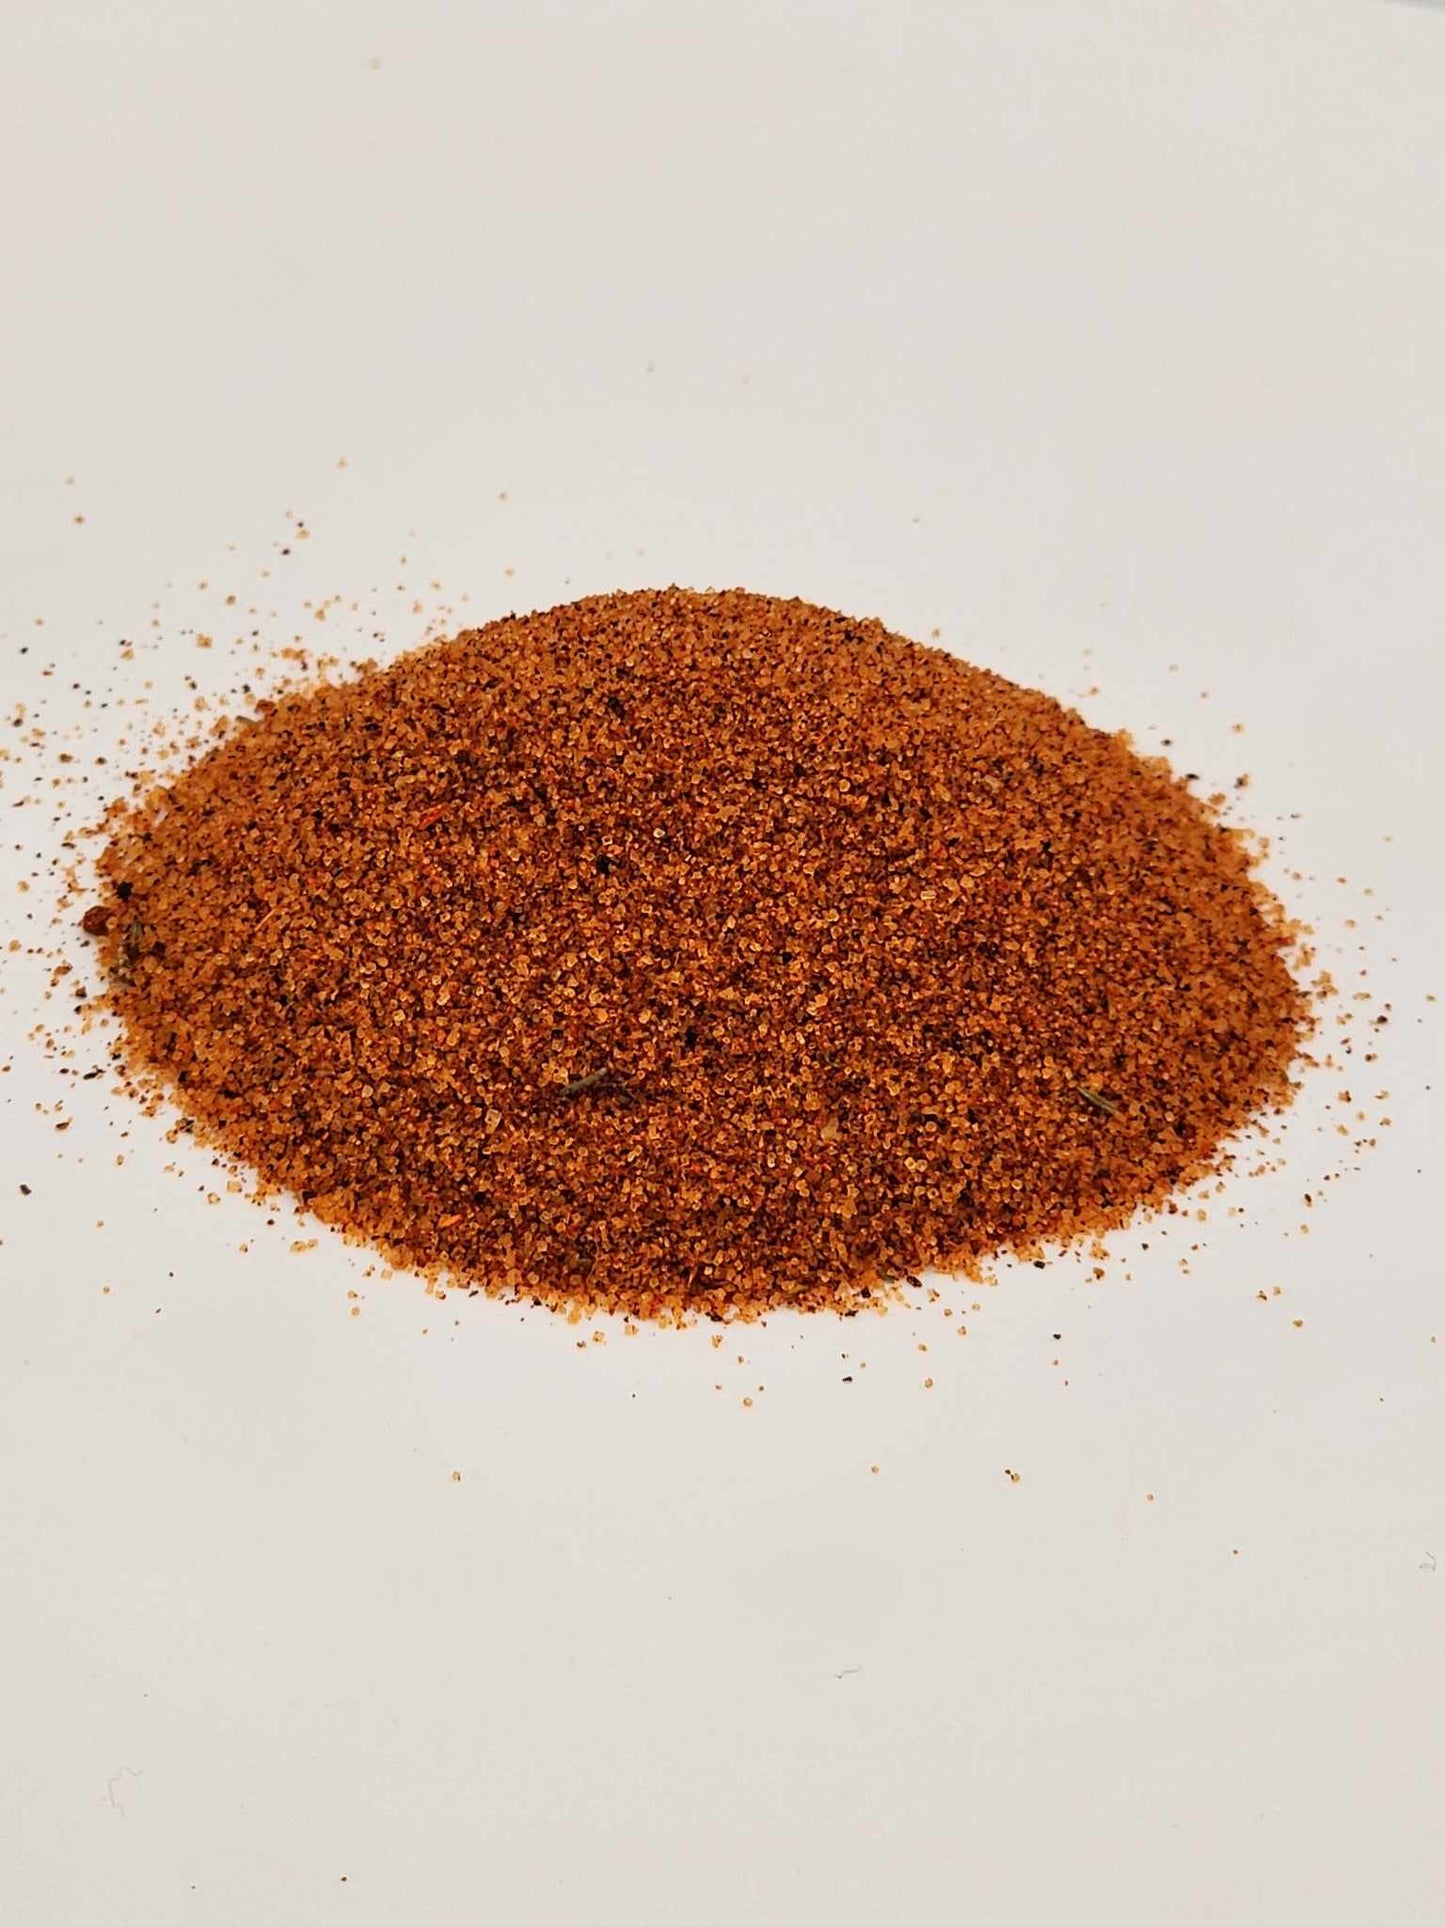
With a short ingredient list, there’s no reason to get shy with the seasoning. Rub Yer Meat BBQ Rub goes all over the outside of the chicken and inside the cavity, too. Give the breasts, thighs, legs, and back some attention instead of putting all the good stuff on the side facing the camera.
The beer gets its name in the title. We’re still making sure the rub shows up for dinner.
Beer Can Chicken Recipe
Servings: 4
Prep Time: Approximately 15 minutes
Cook Time: Approximately 60–75 minutes, or until the chicken reaches temperature
Rest Time: 5–10 minutes
Grill Temperature: 350°F
Pellets: Hickory
Cooking time will vary with the size of the chicken and your grill. Use the internal temperature to determine when it’s ready rather than relying on the clock.
Ingredients
- 1 whole chicken, approximately 3–5 pounds
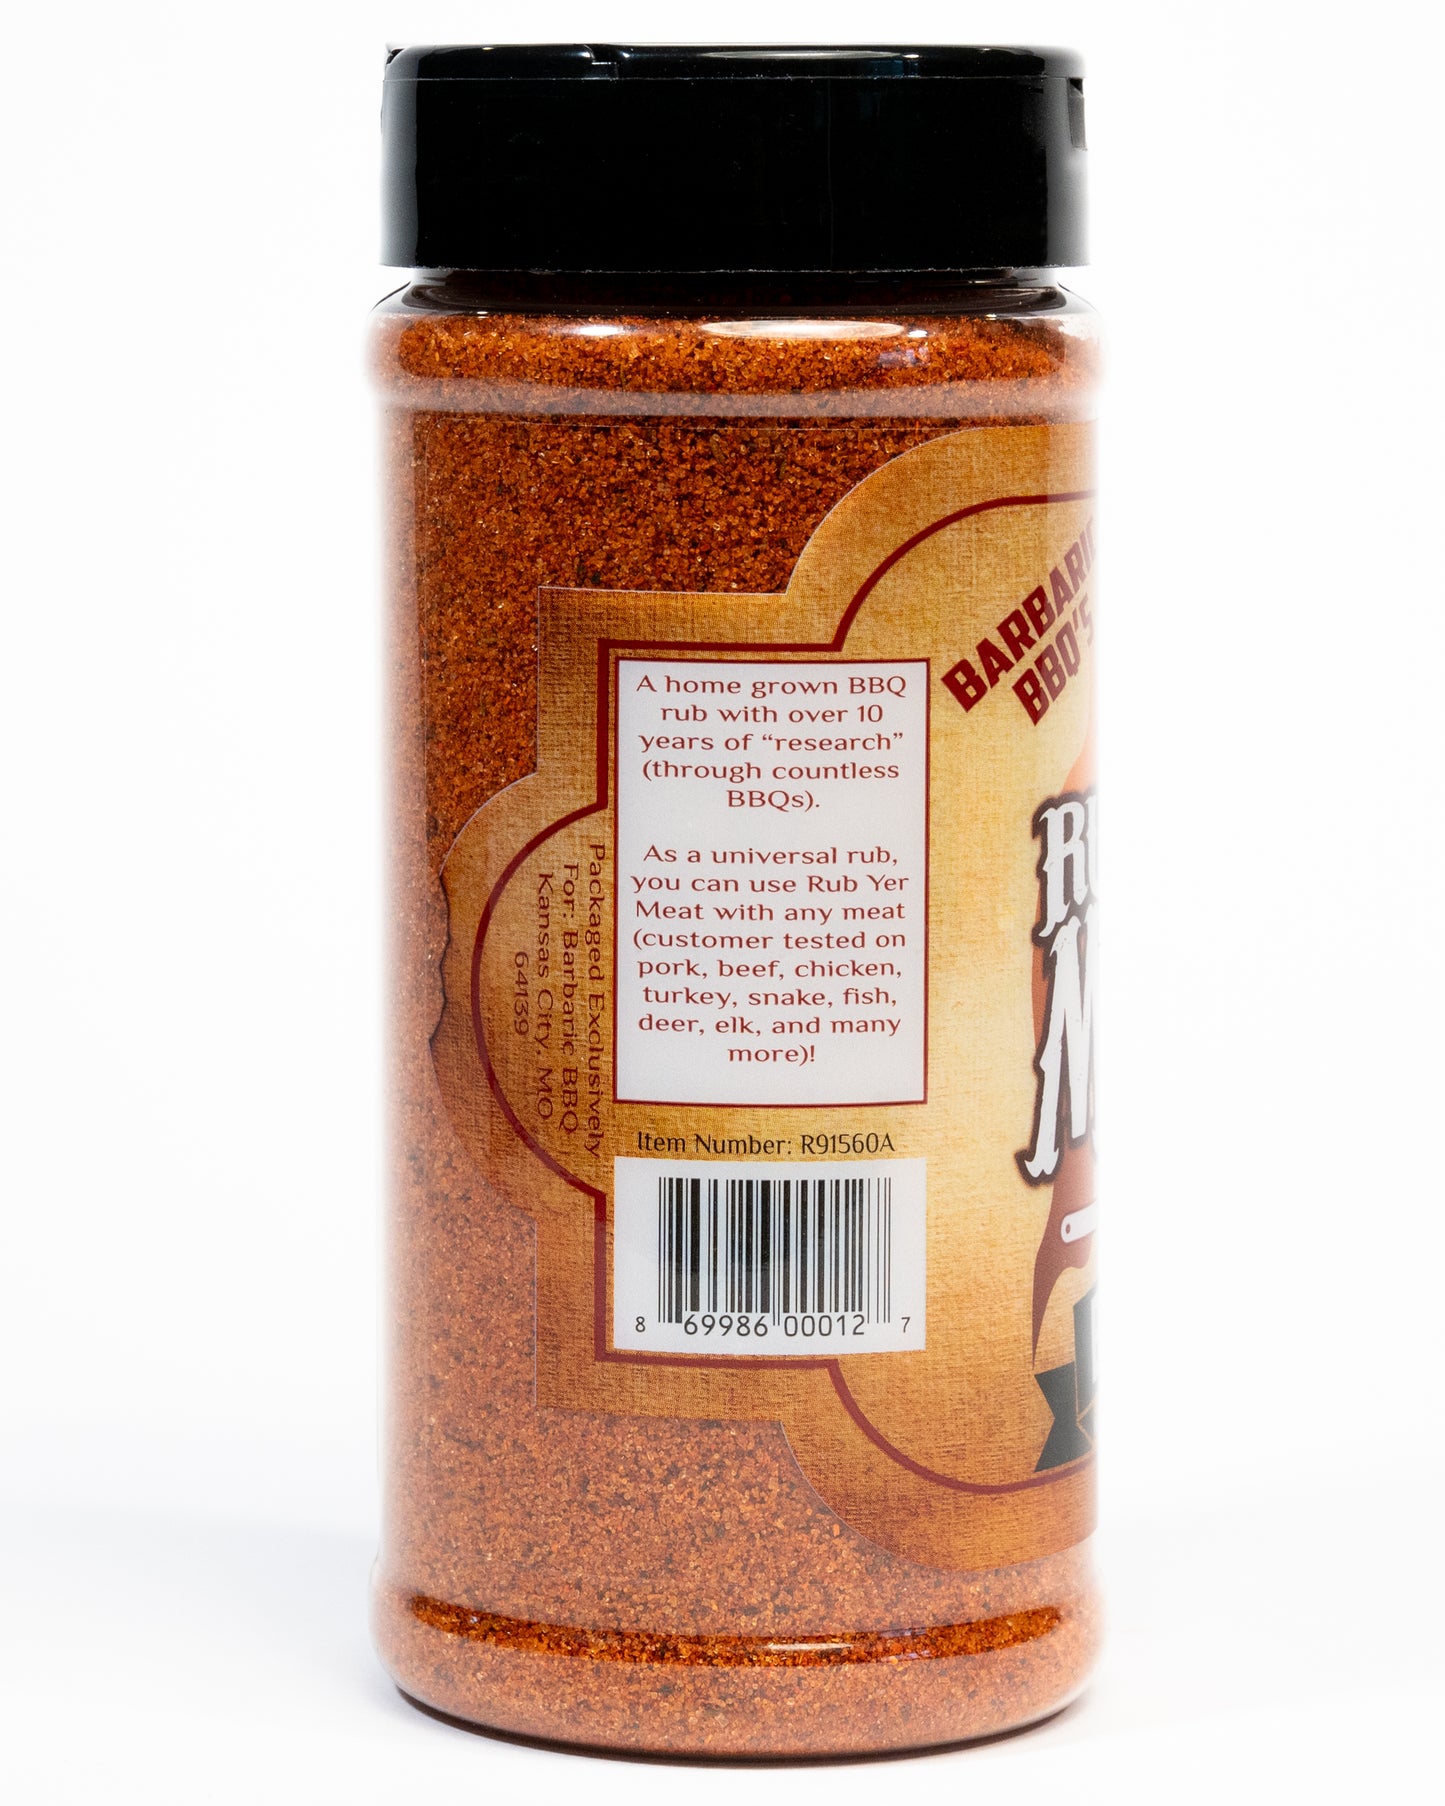
- Rub Yer Meat BBQ Rub, as needed to season generously
- 1 can of beer
How to Make Beer Can Chicken
1. Give the Chicken a Good Rubdown
Generously season the chicken’s exterior and cavity with Rub Yer Meat BBQ Rub. Turn the bird as you work so you get an even coating all the way around.
Fold the wing tips behind the chicken’s back to keep them tucked in.

2. Preheat the Grill
Set your pellet grill to 350°F and preheat with the lid closed for approximately 15 minutes. Use hickory pellets for this cook.
Before loading the chicken, make sure there’s enough clearance for it to stand upright with the grill lid fully closed.
3. Position the Chicken on the Beer Can
Open the beer and insert the can into the chicken’s cavity, leaving approximately 1½ inches of the bottom of the can exposed.
You can also place the opened can directly on the grill grate first, then carefully lower the chicken onto it.
Make sure the bird is standing securely before you let go. We’re going for beer can chicken, not a poultry trust fall.

4. Roast Until the Chicken Reaches Temperature
Stand the chicken upright directly on the grill grate and close the lid.
Roast at 350°F for approximately 60–75 minutes, until a meat thermometer inserted into the thickest part of the breast reads 165°F. Keep the thermometer tip away from bone when checking.
Treat the cooking time as a guide. A larger bird may need longer, so keep cooking until it reaches the target temperature.

5. Let It Rest
Carefully transfer the chicken, with the can still in place, to a sheet tray.
Let it rest for 5–10 minutes before removing the can and carving.
This is your window to get everything else on the table and admire that bird before someone starts picking at it.

6. Remove the Can and Carve
Carefully lay the chicken on its back and remove the beer can. Use heat-resistant gloves and take your time: the can and remaining liquid will be hot.
Transfer the chicken to a cutting board, carve it into serving pieces, and serve.
A Little Planning Makes the Finish Easier
Have your sheet tray, heat-resistant gloves, thermometer, and cutting board ready before the chicken finishes cooking. Moving a hot chicken balanced on a beer can is not the moment to start opening drawers.
Then all that’s left is to carve it up and feed whoever has been hovering around the grill.
Give your bird a proper rubdown. Dinner can take it from there.